This article explains all keyword filtering options in Search Console Helper.
Search Console Helper offers several ways to filter keywords:
Note: You get better performance on keyword filtering, if you just use exact match instead of wildcards (* and ? ) in keyword list (so try to reduce the usage of the wildcards)!
1. The ‘Add Filter’ function
The Add Filter function is located in the top area of the user interface.
This function allows you to pre-set and save keyword filters for future use. Each filter is saved to a particular property. This means, if you need to use the same keyword filtering for multiple properties, you will need to create the filter for each property, separately.
Here’s how to create a filter with this function:
Step 1: To start creating a keyword filter, click the Add Filter button or click on the arrow and select Add filter….
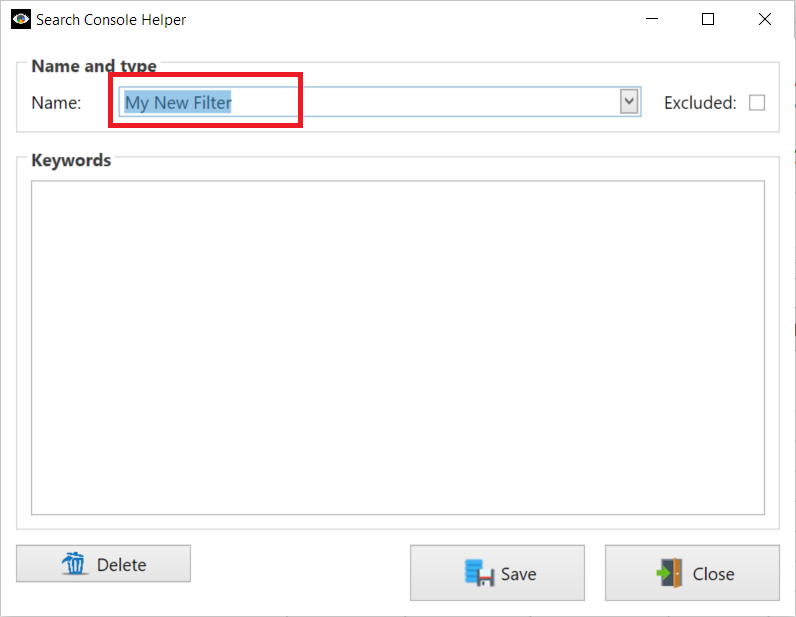
A new dialog box comes up, where you can set up your keyword filter.
Step 2: Give your new filter a name.
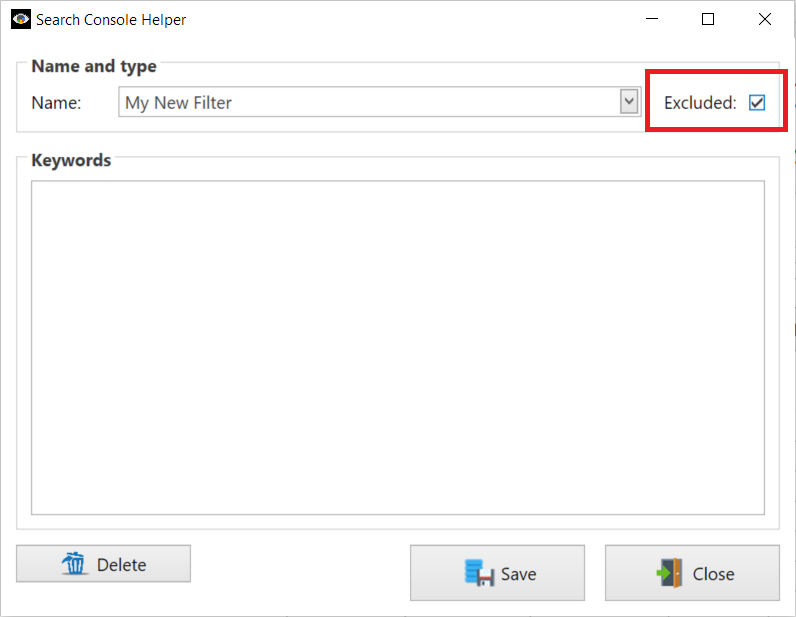
Step 3: Decide if you want the keywords to be Excluded (excluded means that you will be shown all keyword EXCEPT those that match your filtering criteria).
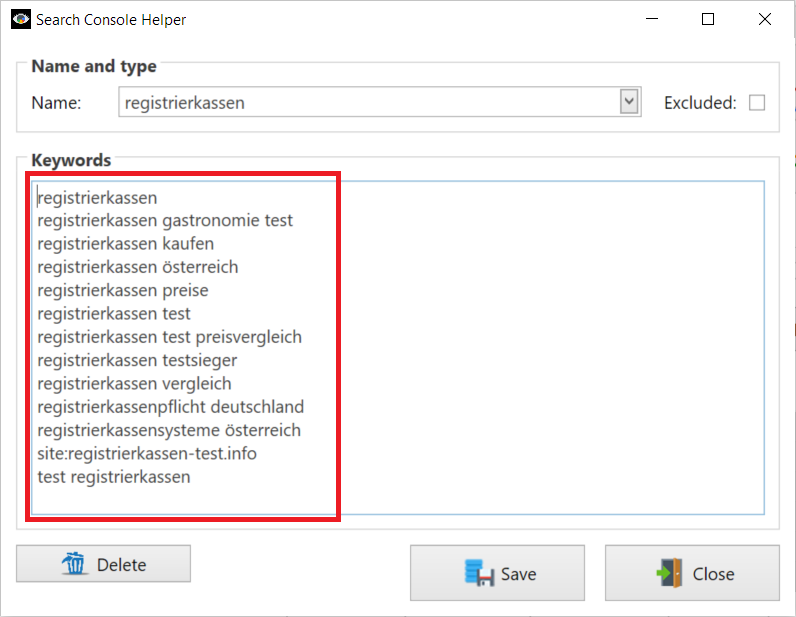
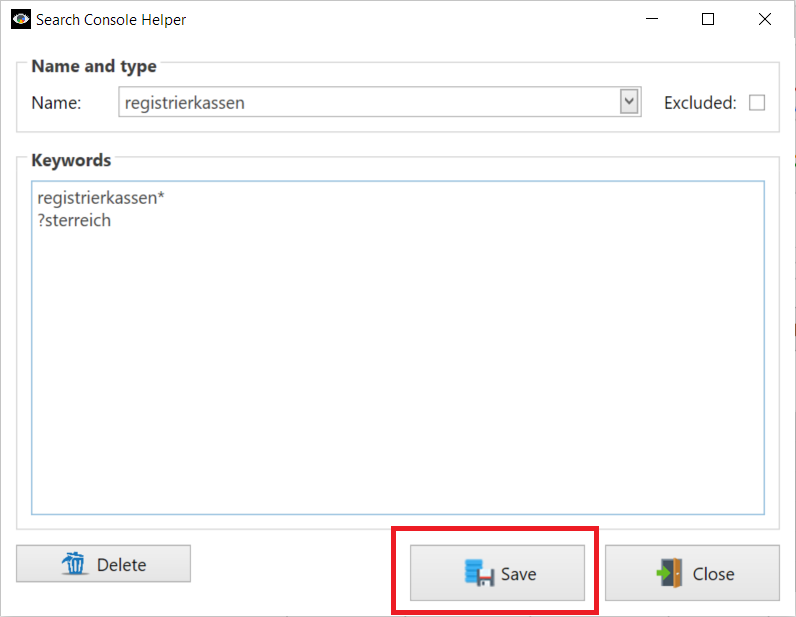
Step 4: Input your keywords. There is no limit on the number of keywords you can input.
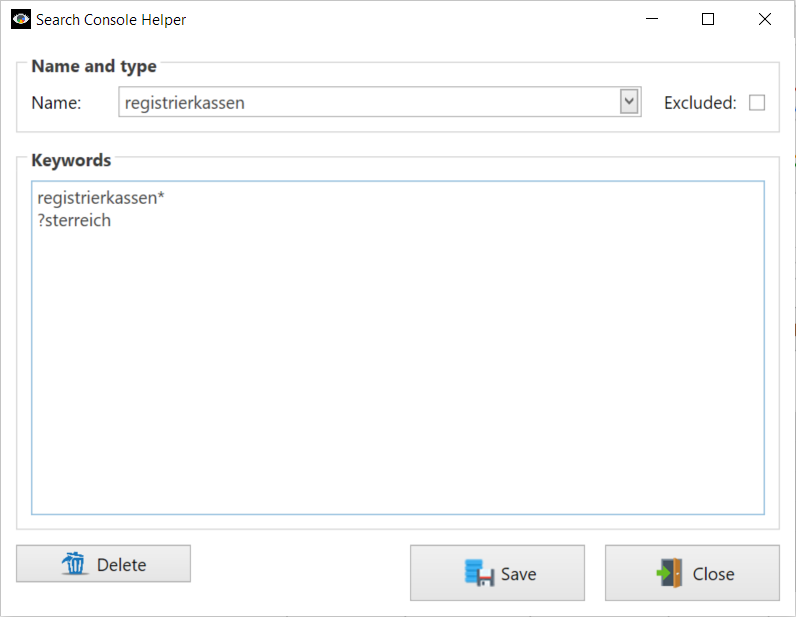
Step 5: Set up wildcards, as needed. You can use two types of wildcards:
- An asterix ( * ) represents any string of characters. Examples of use:
- registrierkassen* will return registrierkassenpflicht and registrierkassen vergleich, but not test registrierkassen.
- *registrierkassen will return test registrierkassen, but not registrierkassenpflicht and registrierkassen vergleich.
- *registrierkassen* will return all three: registrierkassenpflicht, registrierkassen vergleich and test registrierkassen.
- A question mark ( ? ) represents any single character. Examples of use:
- ?sterreich will return both, osterreich and österreich.
Step 6: to save the filter, click Save.
2. The ‘Search’ function
The Search box is located just above the data set.
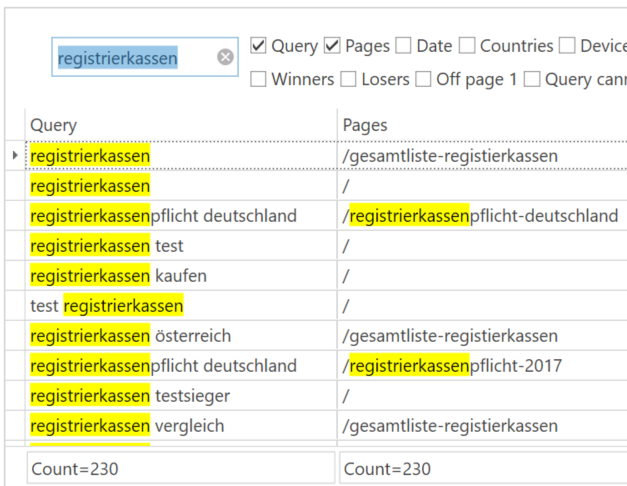
This function allows you to quickly filter data rows from within the data set. Simply type in anything into the Search box. The matching data rows will be displayed immediately below.
Saving searched keywords into a filter
If you need to save a certain list of keywords for future use, do the following:
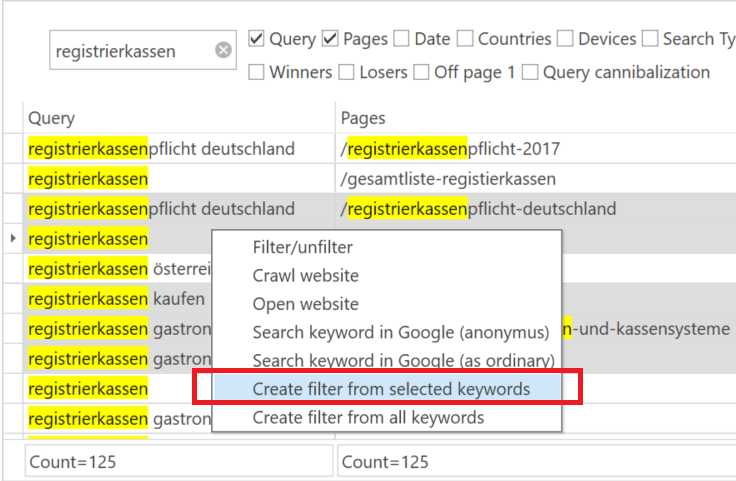
Step 1: Select all keywords you want to save:
- To select multiple non-adjacent rows, hold the Ctrl key and click on every row you want to select.
- To select multiple adjacent rows, click on the first row, hold the Shift key and click on the last row.
Step 2: Right-click on your selection and select Create filter from selected keywords.
Step 3: Create and save your filter as described in the ‘Add Filter’ section.
3. The ‘Filter Editor’ function
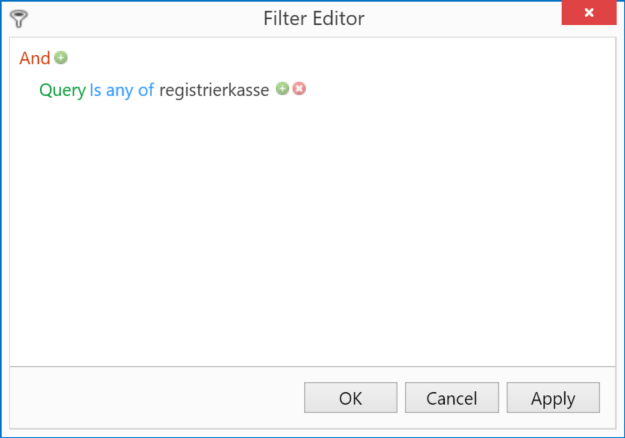
The Filter Editor becomes available after you have filtered out something. It allows a powerful way to add multiple conditions for very precise filtering.
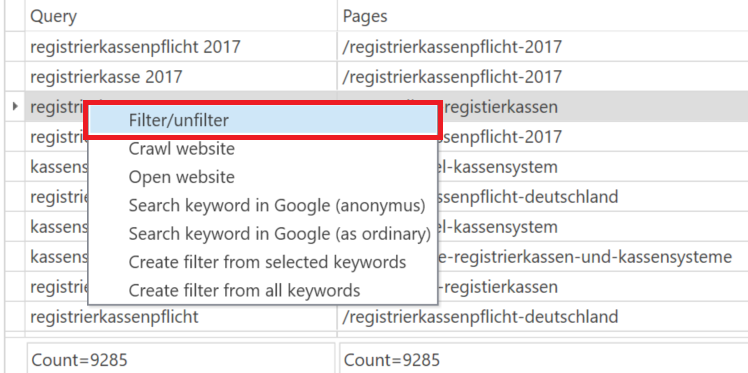
Step 1: To filter a query or a page, right-click on it and select Filter/unfilter.
This will add a new bar below the data set, indicating that a filter is in effect.
Step 2: to launch the filter editor, click the small pencil icon on the right side of the filter bar. This will open a new dialog box with the Filter Editor.
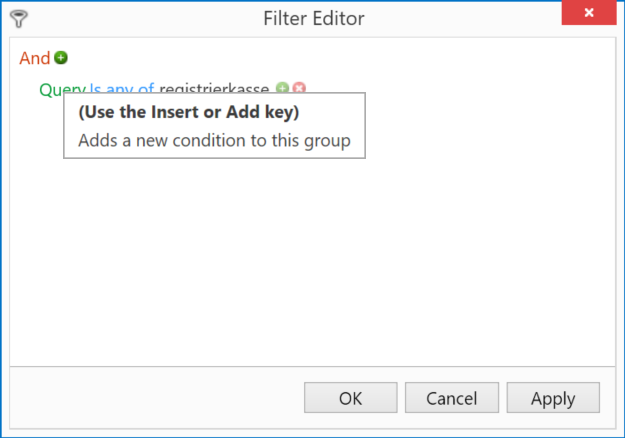
Step 3: to add a new condition, click the plus ( + ) sign.
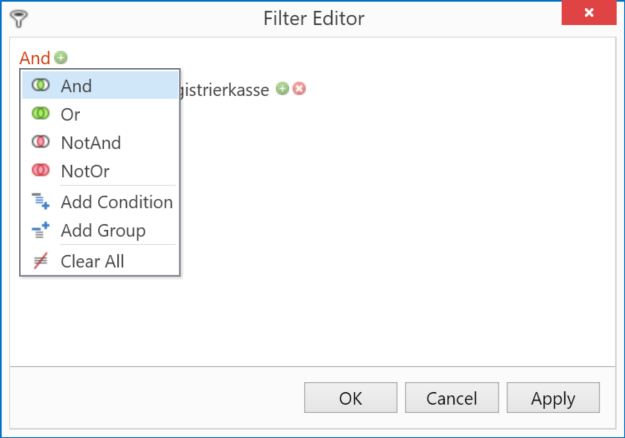
Step 4: to modify the relationship between conditions, click Add and select the relationship you want.
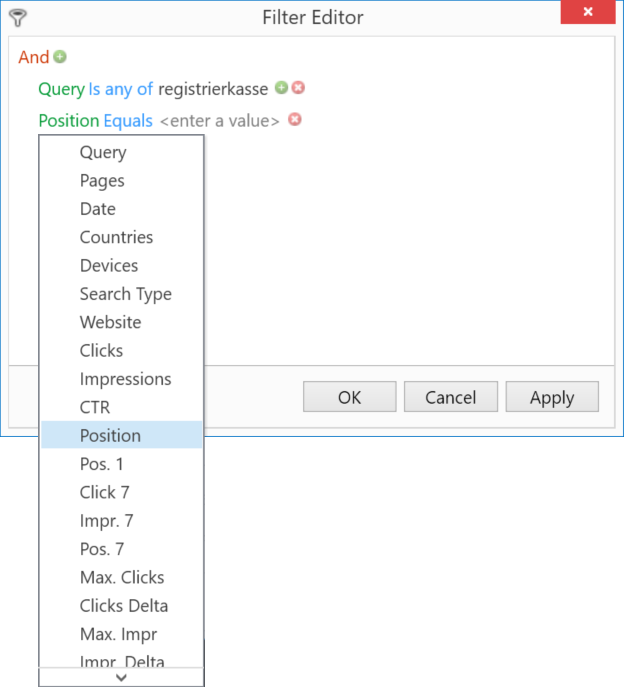
Step 5: to select what data you want to filter, click the green text and select a data label.
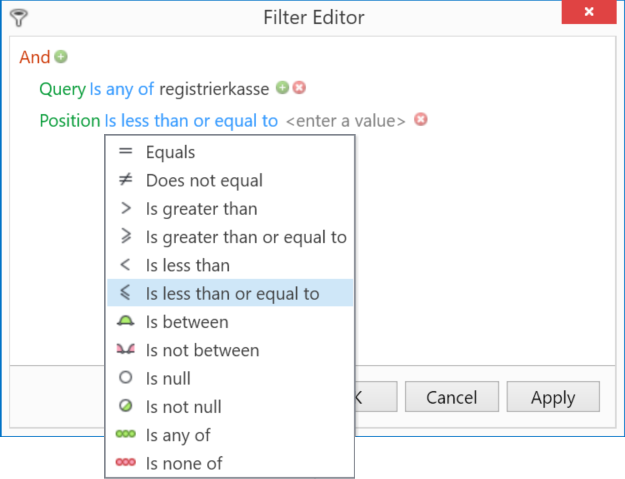
Step 6: to modify the condition that defines the relationship between the selected data and the values, click the blue text and select the condition.
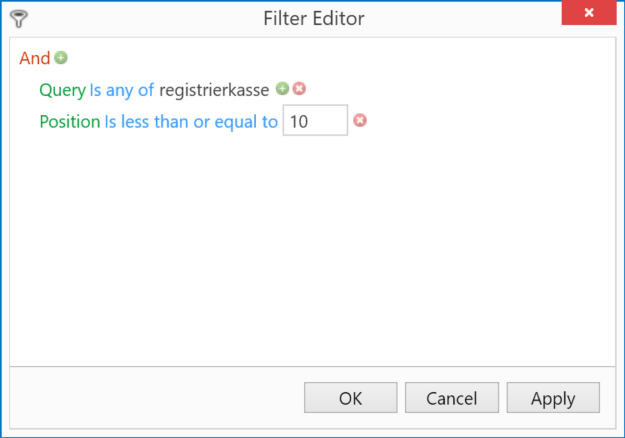
Step 7: to define the value, click <enter a value> and type in a value.
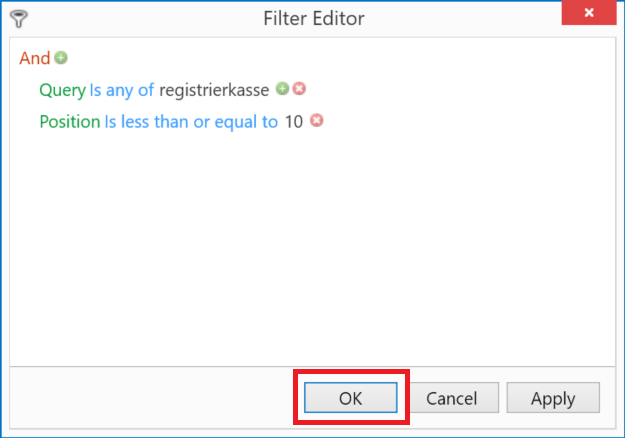
Step 8: to apply the filter, click OK or Apply.
This concludes the article on keyword filtering. Please leave a comment below if you have any comments or questions.


