Search Console Helper is super-easy to install. In most cases it is as simple as point and click, so you will be able to complete the entire process in less than 5 minutes. You can refer to our Youtube video or follow the steps outlined below.
This document will guide you through the entire process.
Requirements
For a successful installation of Search Console Helper, you will need:
- Windows operating system (Windows 7,8 or 10)
- Administrator user permissions
- Internet access
- Web browser of choice
- Google Search Console access
Installation steps
The entire installation process consists of only 2 steps:
- Download and install Search Console Helper
- Connect to Google Search Console
Step 1: Download and install Search Console Helper
(It is possible that you have already completed this step. If so, please skip and refer to the next step.)
1. Go to the download page and click the download button. You will be offered the option to either save the file or run it.

2. Choose the Run option and wait for the download to finish. (If no run option is present, save the file to your computer and then open it by double clicking on the file name.)

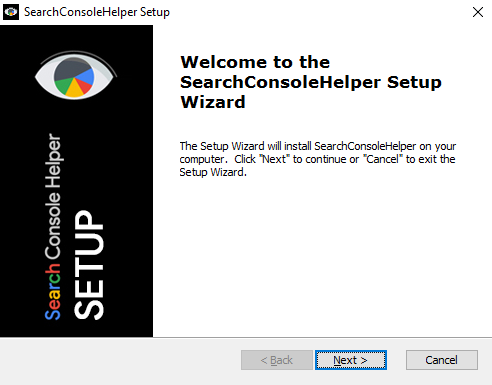
3. Click Next to start the setup wizard.
4. Click Next to confirm the location of the installation folder (recommended) or select another location.
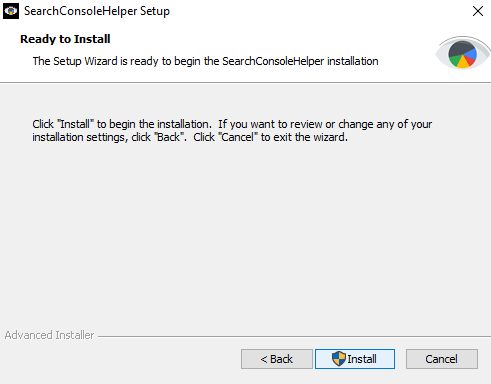
5. Click Install to begin installing and wait for the installation to finish.
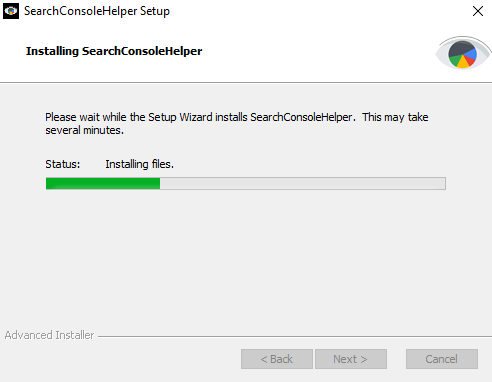
You will be able to follow the progress of the installation on the next screen:
6. Click Finish to exit the setup wizard.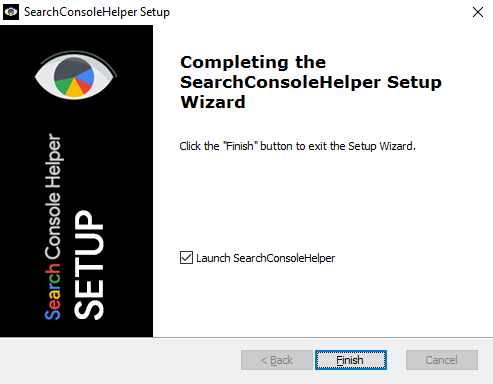
Step 2: Connect to Google Search Console
1. If you have the Launch SearchConsoleHelper box checked (see previous screenshot), the application will launch automatically. Otherwise,please launch the application manually by either double-clicking the Search Console Helper icon on your desktop, task bar or in your start menu or by double-clicking the SearchConsoleHelper.exe file in the installation folder.
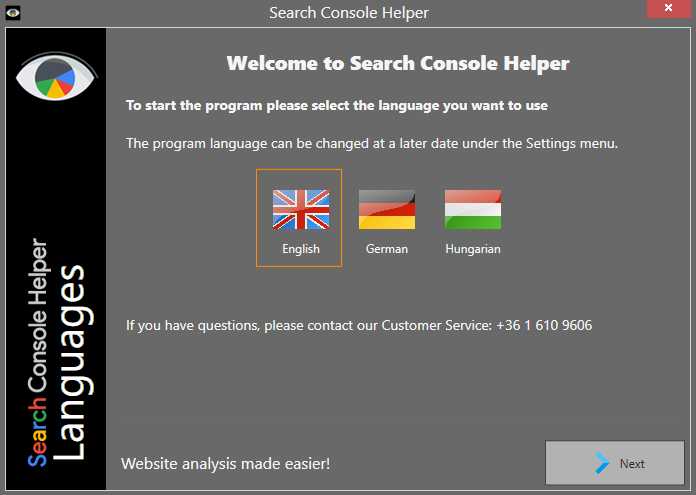
2. Select your preferred language and click Next. The program will now attempt to connect to Google Search Console.
3. In some cases you may be asked to select how you want to connect to the Internet.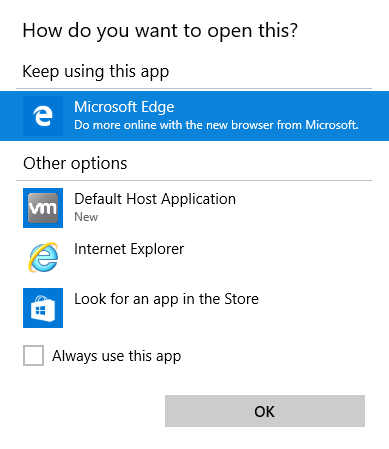
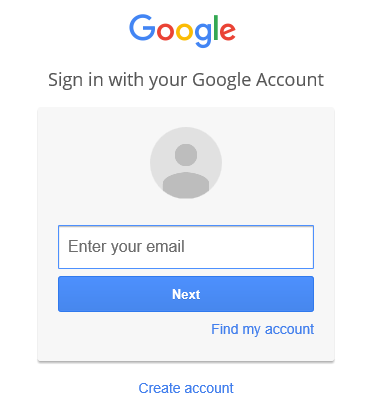
4. Sign in with the same credentials that you use to access Google Search Console. (Don’t worry, we cannot see your login details. This process is 100% safe and secure.)
5. Click Allow for Search Console Helper to access your data in Google Search Console. (Again, there is nothing to worry about. We have no way of seeing your login data.)
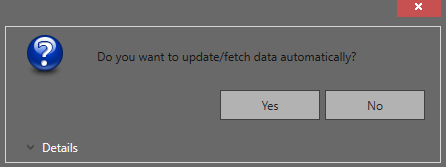
6. Select if you want Search Console Helper to fetch your data automatically (recommended) or if you want to set up fetching manually.
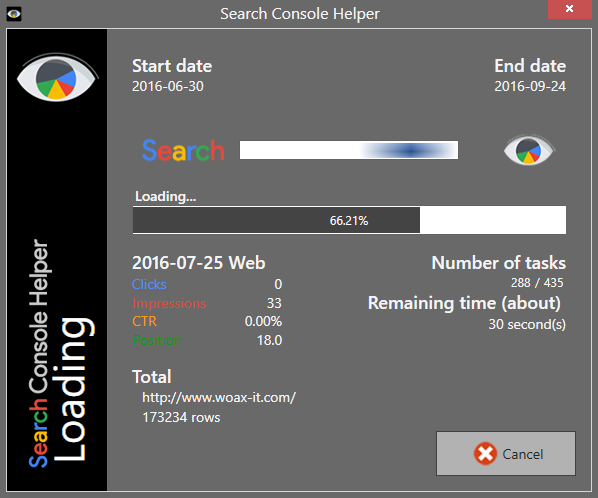
7. Wait for data fetching to finish.
8. You have now successfully installed and set up Search Console Helper! Congratulations!